Cisco Pix PPTP VPN Setup
Step 1:
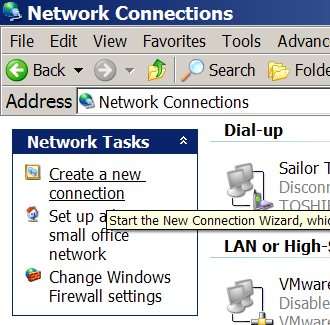
First, navigate to "Network Connections". It can be found by going to the "Properties" page of the "Network Connections" icon.
At the upper left, under "Network Tasks", you should see an option for "Create a new connection". Click this once to start the wizard.
Step 2:
Click "Next >" to advance past the welcome screen.

Step 3:
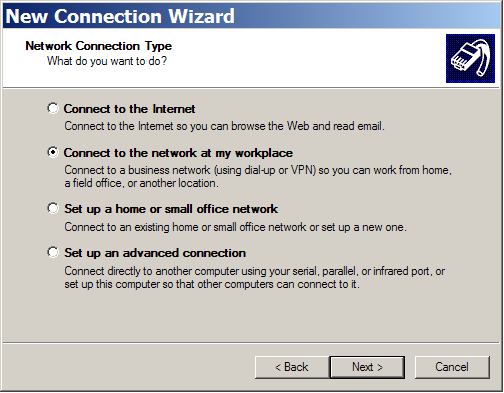
For "Network Connection Type", select "Connect to the network at my workplace" and click "Next >".
Step 4:
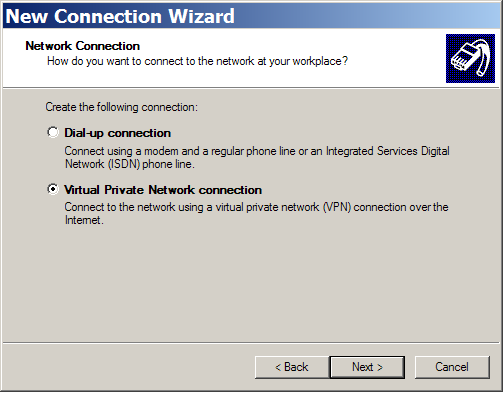
For "Network Connection", select "Virtual Private Network connection" and click "Next >".
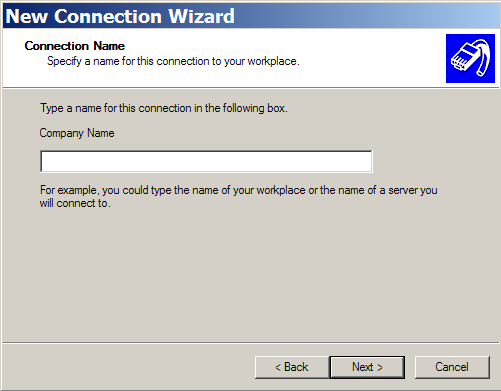
Step 5:
For "Connection Name", you want to type in a descriptive name for this network connection, like "Work VPN" or something. Your network people may have given you a name that you should use. In the screens captured by this guide, we used "TEST2" as the name. Once you have specified the name, click "Next >".
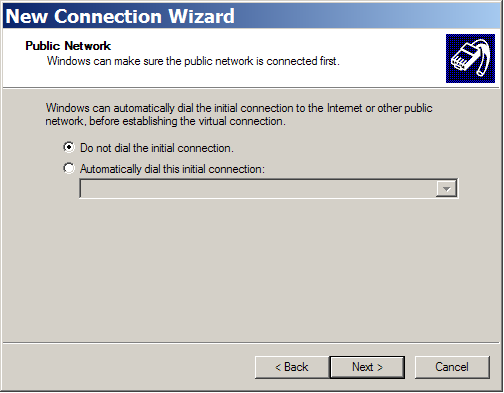
Step 6:
Under "Public Network", if you have an always-on Internet connection, you want to select "Do not dial the initial connection. If you have to dial a modem or some other connection before you get internet access, you would want to choose "Automatically dial this initial connection:" instead, and then select the appropriate connection in the drop down box. Once you have done this, click "Next >".
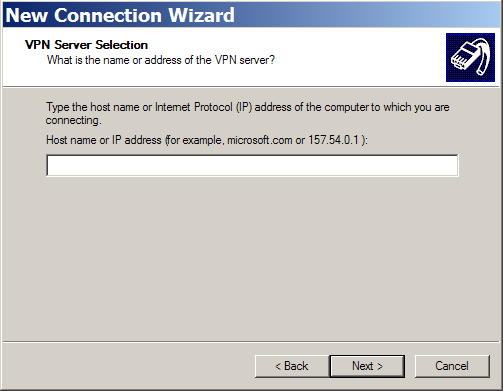
Step 7:
Under "VPN Server Selection", you should enter the host name or IP address that your network administrator has given you. This is the name or address of the device at the other end of your vpn tunnel. Once you have done this, click "Next >".
Step 8:
At this point you should get a confirmation screen that says "Completing the New Connection Wizard". You can click "Finish".

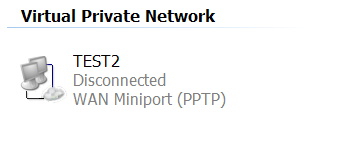
Step 9:
If you return to the "Network Connections" window from Step 1, you should see a new icon. It should have been given the name that you specified in Step 5. In the case of this example, we had called it "TEST2". Doubleclick this icon.
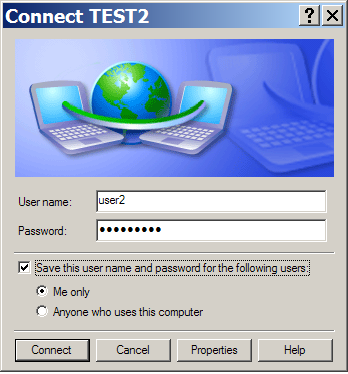
Step 10:
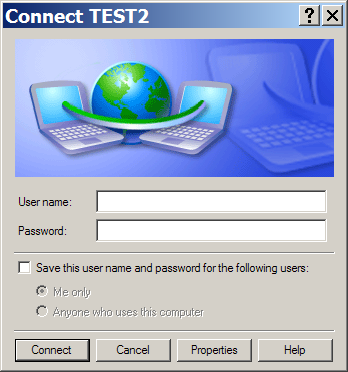
A window should pop up asking for your "User name" and "Password". This will have been provided by your network people. Enter then now.
Step 11:
If you want the computer to remember your connections, select "Save this user name and password for the following users."